
Drip Edge: The Essential Roofing Protector Against Water Damage!
A drip edge is a vital roofing component that safeguards your home from water damage by directing runoff into the gutters, preventing leaks, rot, and structural deterioration. Durable materials such as galvanized steel, aluminum, and copper provide long-term protection, while plastic options are budget-friendly, short-term alternatives. Proper installation is crucial, as a missing or improperly installed drip edge can lead to costly repairs. Investing in a high-quality drip edge helps protect your roof and enhances its longevity.
What Is a Roofing Drip Edge?
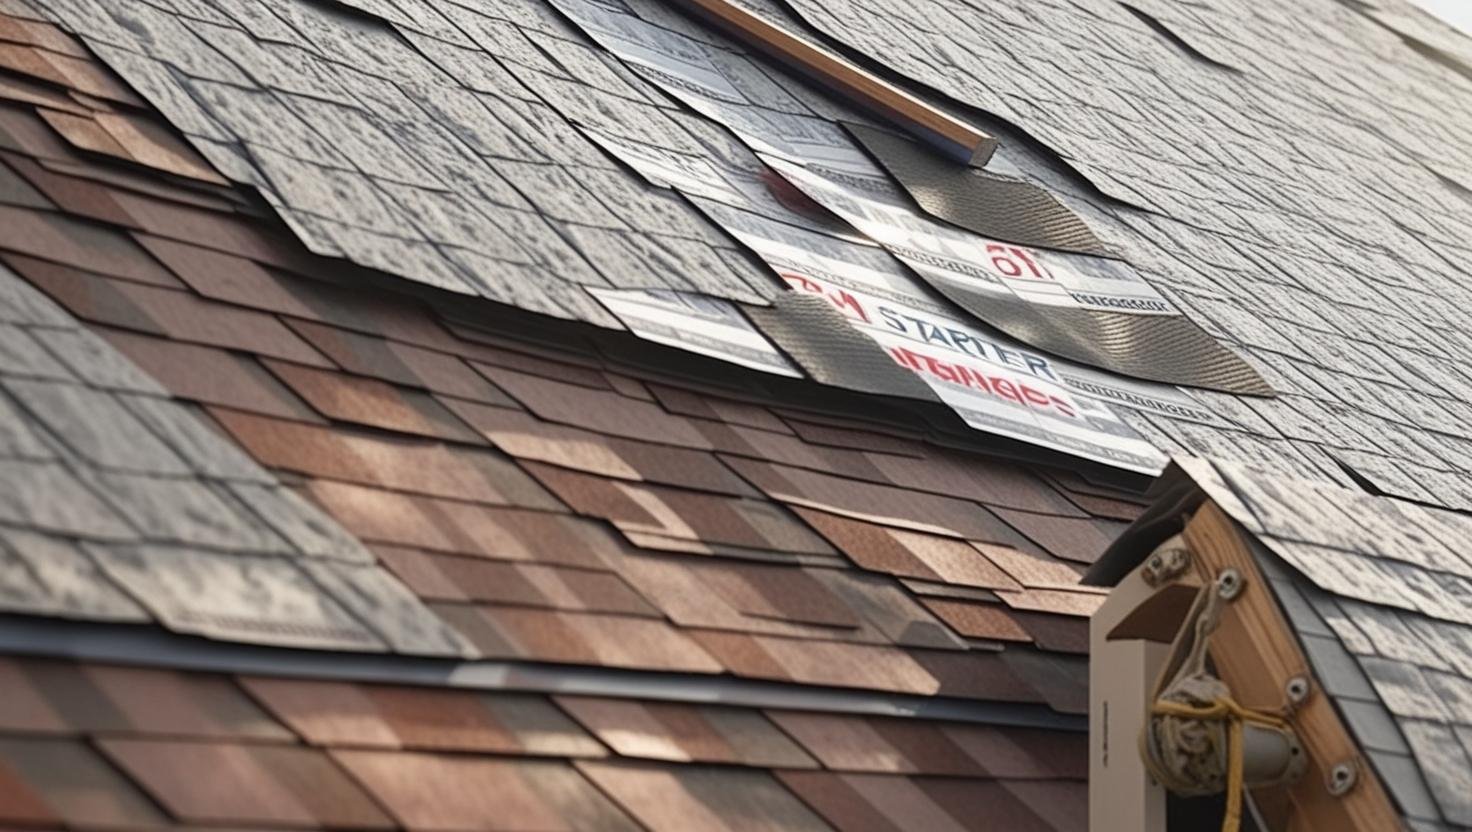
A drip edge is a metal flashing installed along the edges of a roof to guide water into the gutters, preventing it from running down the fascia board or seeping under the shingles. Without a properly installed drip edge, water can infiltrate the roof structure, causing rot and deterioration of the decking and eaves. Wind-driven rain and surface tension can further contribute to water intrusion, leading to severe damage over time.
High-quality drip edges are typically made from corrosion-resistant materials like galvanized steel, copper, or aluminum, offering long-term protection against moisture damage. While plastic, fiberglass, and pre-bent alternatives exist, they often lack the durability of metal options.
Roofers install drip edges along the eaves, rakes, and gables to facilitate proper runoff. The use of non-porous materials and rake molding further enhances moisture resistance. If a drip edge is missing or damaged, immediate replacement is necessary to prevent water infiltration, pest entry, and structural decay. A well-installed drip edge strengthens the roof’s integrity and extends its lifespan by providing essential protection against the elements.
Why a Roof Drip Edge Is Essential
A drip edge is a critical roofing element that ensures proper drainage of wind-driven rain, heavy precipitation, and melting snow. Without it, surface tension can cause water to cling to the fascia or seep beneath the shingles, resulting in wood rot and moisture damage to the soffit and roof deck. During winter, ice dams may form, obstructing water runoff and increasing the risk of mold and mildew growth.
Building codes, including the International Residential Code (IRC) R905.2.8.5 and Section R905.2.5, mandate the proper installation of drip edges. These regulations require mechanical fastening, overlapping joints, and secure fasteners to ensure durability and compliance.
Beyond water protection, a drip edge stabilizes the deck and rake edges, preventing wind damage that could compromise the roof’s structure. It also seals off gaps that could allow pests to enter the attic. Durable materials, such as rust-resistant aluminum and water-protective membranes, enhance the drip edge’s effectiveness. A missing or deteriorated drip edge should be replaced immediately to avoid costly damages that may extend beyond the eaves and into the home’s foundation or basement. Proper flashing and a lower flange improve its performance, providing long-term protection and reducing the likelihood of water-related insurance claims.
Drip Edge Material Types
Aluminum:
- Lightweight and corrosion-resistant.
- Available in multiple colors to match home aesthetics.
- A popular choice due to its durability and affordability.
Galvanized Steel:
- Strong and highly resistant to rust.
- A 24-gauge thickness is recommended for enhanced durability.
- Withstands harsh weather conditions.
Copper:
- A premium, high-end option that naturally develops a protective patina over time.
- Exceptionally durable and aesthetically appealing.
Vinyl, Fiberglass, and Plastic:
- Typically used for non-roofing applications such as doors and windows.
- They are less durable than metal options, making them unsuitable for long-term roofing needs.
Minimum Thickness and Design Considerations:
- To comply with building codes, drip edges should have a minimum thickness of 0.69 mm (approximately 20 ounces).
- Available in various shapes and styles to accommodate different roofing systems.
- Choosing the appropriate material enhances water resistance and extends the roof’s lifespan.

Drip Edge Profile Types
Type C (L-Style Drip Edge):
- Features an L-shaped design with a 90-degree angle.
- The most basic and cost-effective option.
- Effectively directs water away from the fascia and roof decking.
Type D (T-Style or D-Metal Drip Edge):
- Also known as T-style or D-metal drip edge.
- Designed with a curved shape that improves water redirection.
- Meets building codes established by ARMA and the NRCA.
Type F (F-Style or Gutter Apron):
- It features an extended leading edge for excellent coverage.
- Suitable for installation over existing shingles and along rake edges.
- Provides additional protection against moisture penetration.
Other Drip Edge Profiles:
- Additional designs include J-channel and vented profiles for specialized applications.
- Drip edges typically come in 8-foot and 10.5-foot lengths, ensuring flexible installation options.
- Selecting the correct profile ensures optimal performance and durability.
Step-by-Step Installation of a Drip Edge
Step 1: Prepare the Roof:
- Inspect the roofing deck and repair any damage.
- Place the underlayment before installing the drip edge to prevent moisture buildup.
Step 2: Position the Drip Edge:
- Align the drip edge along the eaves and rake edges for optimal water redirection.
- Use a tape measure to mark precise nail locations for even spacing.
Step 3: Secure the Drip Edge:
- Use roofing nails to fasten the drip edge securely.
- Ensure the lower flange extends over the gutter for proper water flow.
Step 4: Cutting for Corners and Valleys:
- Use tin snips to make perpendicular cuts at corners for a seamless fit.
- To prevent gaps, special attention is required for valleys, ridges, and peaks.
Step 5: Adjust for Stability:
- Install a furring strip or additional support at the rake edge if needed.
- Replace any damaged boards for a stable foundation.
Step 6: Final Inspection and Compliance:
- Verify proper installation for optimal drip action and gutter flare coverage.
- Ensure compliance with local building codes and industry standards.
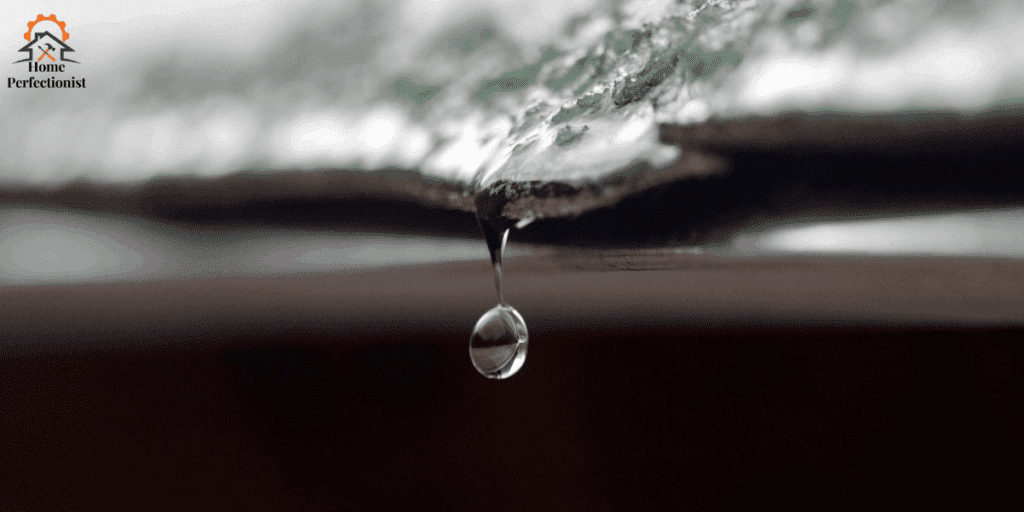
Signs Your Drip Edge Needs Replacement
- Water leaking behind gutters or running down walls.
- Peeling paint or stains on walls and ceilings.
- Clogged rain gutters causing overflow and discoloration.
- Visible holes or perforations in the drip edge.
- Rotten or soft fascia near the roof deck.
- Mold or damp spots indicate moisture infiltration.
- Roof leaks due to improper installation.
- Broken or missing sections of the drip edge.
- Ceiling water stains inside the home.
Why Roofers Might Skip Drip Edge Installation
Some roofers may omit the drip edge during replacement to reduce costs or save time, often advertising the lowest-priced services to attract homeowners. This could result from inexperience, negligence, or cost-cutting strategies. However, skipping this crucial component can lead to severe water damage, requiring expensive repairs. Homeowners should be wary of low-cost estimates that exclude essential roofing components.
When a Drip Edge Isn’t Necessary
While a drip edge is essential for most roofs, some designs incorporate pre-bent aluminum fascia or rake molding, which serve the same function. Additionally, specific local building codes may not mandate drip edges if the roof design naturally directs water away. Always verify building regulations to ensure compliance and adequate water protection.
Conclusion
A drip edge is a small but crucial roofing system component that protects against water infiltration, rot, and structural damage. Available in various materials and profiles, it enhances a roof’s durability and compliance with building codes. While some roofers may skip installing a drip edge to cut costs, doing so can lead to costly repairs. Regular inspections and timely replacements ensure long-term protection for your home. Investing in a high-quality drip edge extends the lifespan of your roof and safeguards your property from potential water-related issues.
drip edge (FAQs)
Q: Do building codes require a drip edge?
Ans: Yes, most building codes, including the International Residential Code (IRC) R905.2.8.5, require drip edges for asphalt shingle roofs to prevent water damage and ensure proper drainage.
Q: Can I install a drip edge on an existing roof?
Ans: A drip edge can be installed on an existing roof, though it may require lifting the shingles or using an F-style (gutter apron) drip edge for proper integration.
Q: What happens if a drip edge is missing?
Ans: Water can seep under the shingles without a drip edge, leading to rot, mold growth, and structural damage. It can also cause water to run behind gutters, affecting the fascia and soffits.
Q: How do I know if my drip edge needs replacement?
Ans: Water stains on walls or ceilings, peeling paint, leaks behind gutters, rotting fascia boards, and visible damage or missing sections are signs of a failing drip edge.
Q: What material is best for a drip edge?
Ans: Aluminum is popular due to its affordability and corrosion resistance. Galvanized steel offers superior durability, while copper provides a high-end, long-lasting option with aesthetic appeal.
Q: Can I install a drip edge myself?
Ans: A homeowner can install a drip edge with the right tools and knowledge. However, improper installation can damage water, so hiring a professional roofer is often recommended.