
Drip Edge Installation: A Complete Guide to Protecting Your Roof
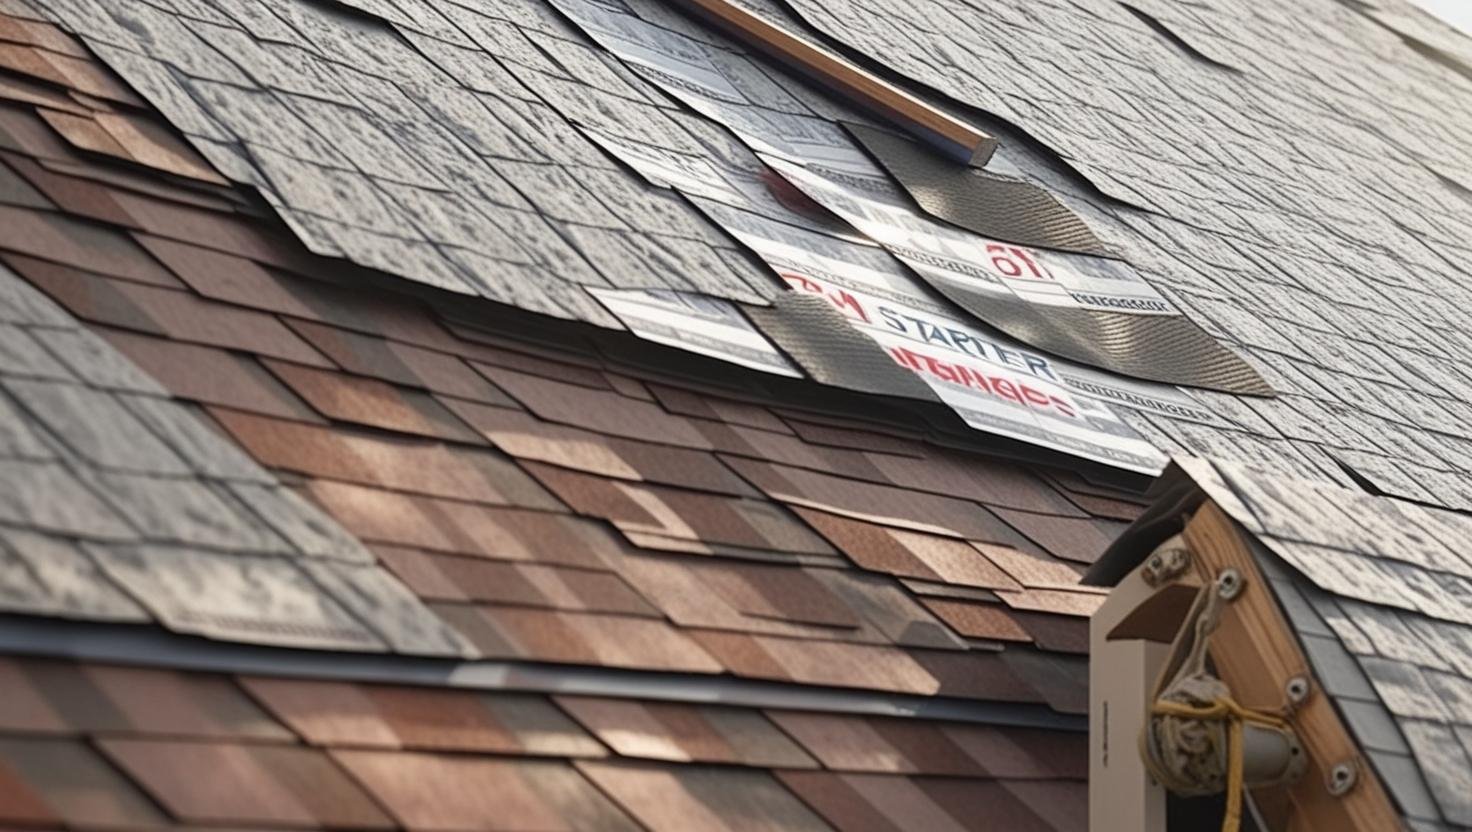
Installing a drip edge is crucial in safeguarding your roof against water damage. This simple yet effective roofing component directs water away from the fascia board and into the gutters, preventing moisture from seeping beneath the shingles and causing rot. Whether using aluminium, galvanized steel, or copper, the right material choice ensures long-lasting protection for your roof decking, walls, and interior spaces.
A properly installed drip edge also helps prevent leaks by stopping water from creeping under the shingles. If you’re in North America, follow local building codes when installing drip edges. Using pre-bent materials, such as aluminium fascia or D-metal, ensures a seamless fit along the rake and eaves, giving your roof the durability it needs. Water may run behind the gutters or along the roof edges without a drip edge, leading to structural damage over time.
Why is a drip edge critical?
A drip edge plays a vital role in protecting the edges of your roof from wind-driven rain and water infiltration. It is strategically placed to channel water away from key areas, such as the fascia board and roof deck, reducing the risk of damage over time.
The lower flange of the drip edge directs water off the roof, preventing it from running behind the gutters. Without this barrier, moisture can seep into the siding cavity, potentially leading to wood rot, mould, and leaks. Additionally, a well-installed drip edge helps prevent foundation issues by stopping water from clinging to the shingles and eroding the ground around your home.
Beyond moisture control, a drip edge protects against pests and debris, keeping your roof structure intact. Over time, exposure to wind and severe weather can push water into vulnerable areas, leading to costly repairs. Installing a drip edge ensures both a polished look and a functional safeguard for your home’s exterior.

What you’ll need: Tools and materials for a proper installation
Installing a drip edge requires careful planning and the right tools. Here’s what you’ll need:
Tools:
- Ladder: Ensures safe roof access.
- Measure tape—for accurate placement.
- Tin snips—for cutting the drip edge to size.
- Hammer or drill: To secure the drip edge with nails or screws.
- Clamps: Helps hold pieces in place for precision.
- Caulk gun: for sealing gaps at joints.
Materials:
- Drip edge material: aluminium, galvanized steel, copper, or PVC.
- Roofing nails or screws—for secure attachment.
- Underlayment: Provides an extra layer of water protection.
- Roofing adhesive: helps create a watertight seal.
- Furring strips (if needed): Used to adjust for specific installations.
Lightweight options like plastic or vinyl are easier to work with for DIY projects, though metal alternatives offer superior durability. Handle them carefully if using shiny materials like copper or PVC to avoid breakage or sharp edges.
Before installation, inspect all materials for rust, damage, or imperfections. Ensuring a stable setup is key to avoiding accidents, especially when working in windy conditions or on sloped surfaces.
Drip edge profile types
Drip edges come in various styles, each designed to suit different roofing structures. Here’s a breakdown of the most common types:
Type F (F-style)
- Best for roofs with gutters.
- Extends further out for added protection.
- Recommended by organizations like the National Roofing Contractors Association (NRCA).
Type C (L-style)
- Works well for roofs without gutters.
- It helps shield the fascia board from water damage.
- Ideal for regions with heavy rainfall.
L-shaped drip metal
- Features a lower flange extending outward (typically 2 inches).
- Suited for low-slope and membrane roofs.
- Provides excellent water runoff management.
T-style (T-drip)
- Recognizable by its T-shaped profile.
- Often used for overhangs and asphalt shingle roofs.
- Available in 8-foot or 10.5-foot lengths for installation flexibility.
Choosing the right profile ensures adequate water drainage while protecting the edges of your roof from weather-related damage.

How to install a drip edge: A step-by-step guide
A properly installed drip edge enhances the durability and performance of your roofing system. Follow these steps to achieve a professional-grade installation:
1. Inspect & prepare the roof
- Check the fascia board and roof deck for damage before installation.
- Repair or replace any rotted sections to ensure a solid base.
2. Measure & cut the drip edge
- Measure along the eaves and rake edges for precise cuts.
- Use tin snips to trim pieces to the required length.
- Leave a 2- to 3-inch overlap between sections.
3. Secure the drip edge in place
- Position the first piece along the eaves, ensuring it extends beyond the fascia.
- Nail or screw the drip edge every 12 to 16 inches.
- Overlap sections by at least 2 inches to prevent water penetration.
4. Handle corners & peaks carefully
- Use cornerfolding techniques for a seamless fit.
- If your roof has a ridge, extend the drip edge across the peak for added protection.
5. Integrate with roofing materials
- Layer underlayment over the drip edge for additional waterproofing.
- Ensure shingles overlap the drip edge to create a smooth, continuous barrier.
6. Perform final checks
- Confirm that the drip edge directs water away from the fascia and into the gutters.
- Adjust any loose sections to prevent wind damage.
While this process is manageable for most DIYers, consulting a professional can help ensure compliance with local building codes.
Common mistakes to avoid during installation
Even a tiny mistake in drip edge installation can lead to major roofing problems. Here are some errors to watch out for:
1. Improper placement
- The drip edge should extend 1 1/2 to 1 3/4 inches over the roof decking.
- If placed too flat or narrow, water can seep behind gutters, causing rot.
2. Incorrect fastener use
- Nails or screws should be spaced 8 to 10 inches apart.
- Using improper fasteners or failing to secure the drip edge correctly can lead to loosening over time.
3. Poor overlapping & sealing
- Overlap drip edge sections by at least 2 inches.
- Seal joints properly to create a watertight barrier.
4. Ignoring manufacturer guidelines
- Always follow the recommended installation method for your specific drip edge type.
- Local building codes may require specific materials or installation practices.

Conclusion: Why drip edge installation matters
A well-installed drip edge is key to maintaining the health of your roof. It prevents water from infiltrating beneath shingles, safeguards the fascia from rot, and directs water into the gutters for proper drainage.
To ensure effective installation:
- Maintain an overhang of 1 1/2 to 1 3/4 inches.
- Use the correct fasteners, spaced appropriately.
- Follow manufacturer guidelines and local building codes.
- Check for proper alignment and sealing.
By taking these steps, you can protect your home from leaks, foundation erosion, and costly repairs. Whether tackling this as a DIY project or hiring a professional, ensuring a precise, secure installation will pay off in the long run.
FAQs About Drip Edge Installation
1. What is the primary purpose of a drip edge?
A drip edge is designed to direct water away from the fascia board and into the gutters, preventing water from seeping beneath the shingles and causing roof damage. It also helps protect the soffit and foundation by controlling water runoff and reducing erosion around the home.
2. What materials are best for a drip edge?
The most common materials for a drip edge are aluminium, galvanized steel, and copper. Aluminium is lightweight and corrosion-resistant, galvanized steel offers extra durability, and copper provides a premium look with excellent longevity.
3. How far should the drip edge extend over the roof decking?
The recommended overhang for a drip edge is about 1 1/2 to 1 3/4 inches. This ensures proper water flow into the gutters and prevents water from running behind them, which can lead to fascia and roof damage.
4. Can I install a drip edge or hire a professional?
While installing a drip edge can be a DIY-friendly project, it requires careful measurement, proper overlapping, and correct fastening. If you’re unfamiliar with roofing work, hiring a professional ensures compliance with local building codes and prevents installation mistakes that could lead to water damage.
5. What are common mistakes to avoid when installing a drip edge?
Common mistakes include improper placement, using incorrect fasteners, failing to overlap sections by at least 2 inches, and not sealing joints properly. Ensuring proper alignment and spacing of nails (every 8 to 10 inches) is crucial for a secure and effective installation.