
How to Replace Fascia Board: A Step-by-Step Guide
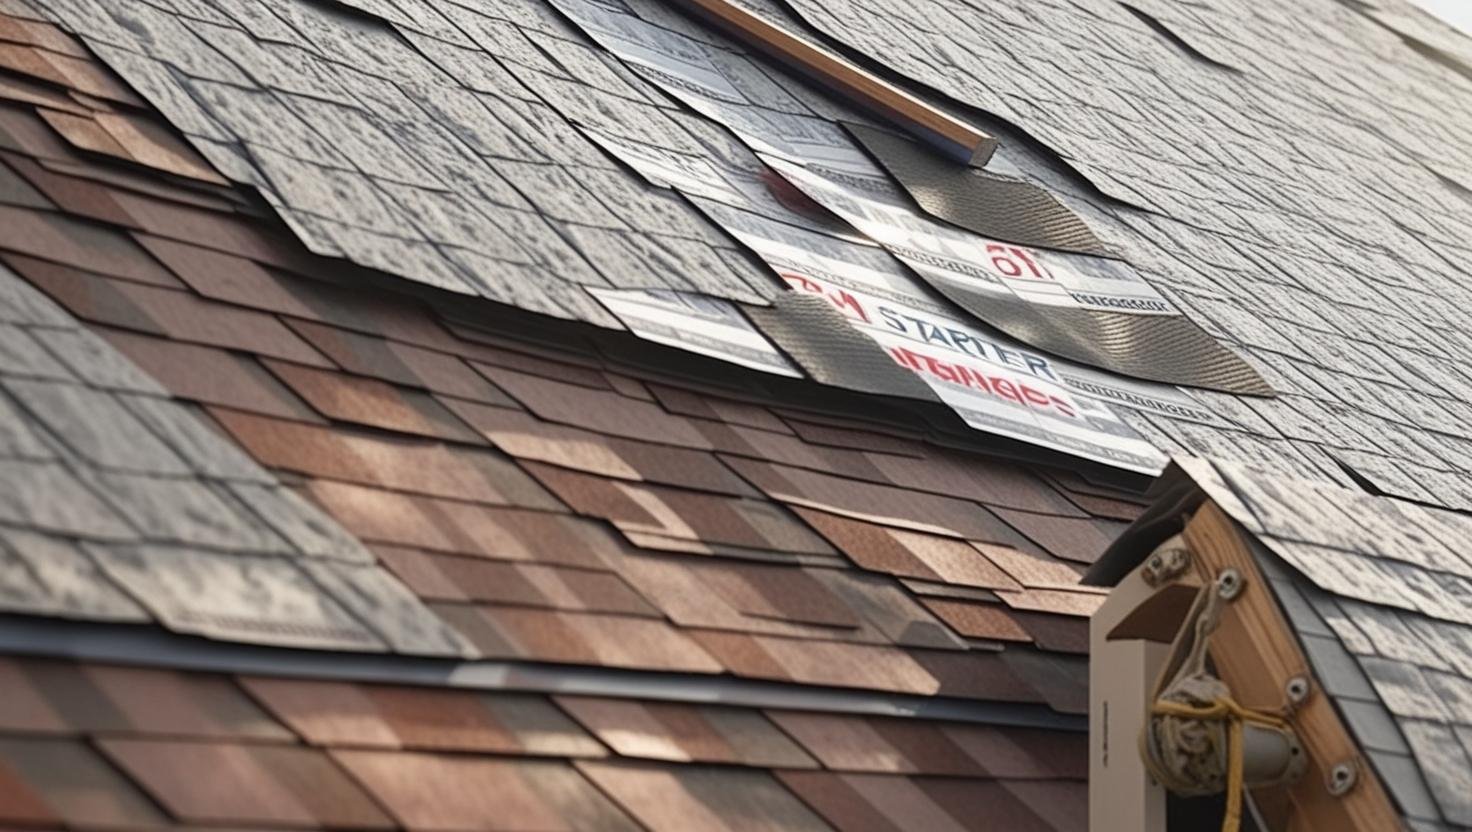
Fascia boards are essential to your roofline, providing aesthetic appeal and structural integrity. They are typically located at the edges of your roof, often supporting your gutter system. Over time, fascia boards can deteriorate due to weather exposure, pest infestations, or general wear. Replacing a damaged fascia board improves the look of your home and protects it from further issues like leaks, rot, and pests.
This guide will take you through replacing or installing a new fascia board, ensuring your roofline stays in top shape.
Why Replace a Fascia Board?
Fascia boards can become damaged for several reasons:
- Water Damage: Fascia boards are often exposed to moisture, especially when gutters are attached. This can lead to wood rot if not properly maintained.
- Pest Infestation: Wood fascia boards are vulnerable to termites and other pests, which can weaken the board and spread to different parts of the roof.
- Physical Damage: Over time, fascia boards may crack, warp, or develop holes. These issues can affect both the functionality and appearance of your roofline.
- Aesthetic Reasons: Staining, bowing, or chipping can detract from your home’s exterior, making replacement necessary to maintain curb appeal.
Tools and Materials Needed
Before you begin, gather the following tools and materials:
Tools:
- Ladder (ensure it’s stable and safe)
- Tape measure
- Crowbar or pry bar
- Hammer or nail gun
- Saw (circular or hand saw)
- Screwdriver or power drill
- Safety goggles and gloves
- Caulk gun and sealant
- Utility knife (if needed)
- Power drill with screws (if replacing gutters)
Materials:
- Replacement fascia board (wood, vinyl, aluminum, or composite)
- Nails or screws (preferably stainless steel)
- Sealant
- Paint (for wood fascia)
- Gap filler (if necessary)
- Primer for wood fascia (if applicable)
Safety Precautions
When replacing fascia boards, safety is crucial. Follow these tips to ensure a safe installation:
- Wear safety goggles, gloves, and a hard hat to protect yourself from debris, sawdust, and falling objects.
- Always ensure your ladder is stable and positioned on solid ground.
- If you need assistance with heavy lifting or working at heights, ask a partner to help.
- Be mindful of potential hazards, such as power tools, sharp edges, or weather conditions.
Steps to Replace or Install a Fascia Board
1. Remove the Old Fascia Board
If you’re replacing a damaged fascia, start by removing the old one:
- Remove the Gutter: If it is attached to the fascia, use a screwdriver or pry bar to detach it.
- Loosen the Fascia: Use a pry bar to pull the fascia board away from the rafters carefully. Be gentle to avoid damaging the rafters.
- Check for Damaged Rafters: Inspect the rafters for any damage, such as rot. If the rafters are damaged, replace them to ensure a stable foundation for the new fascia board.
2. Cut the New Fascia Board
Once the old fascia is removed, it’s time to cut the new one to fit:
- Measure Carefully: Measure the length of the old fascia board to ensure the new one fits precisely. If you’re working with a more extended section, you may need to cut multiple pieces to size.
- Use a Saw: Use a circular or miter saw to cut the fascia board to the correct dimensions. Make sure your cuts are straight and accurate.
- Leave Expansion Gaps: If you’re using uPVC fascia boards, leave a small gap to allow for expansion due to temperature changes.
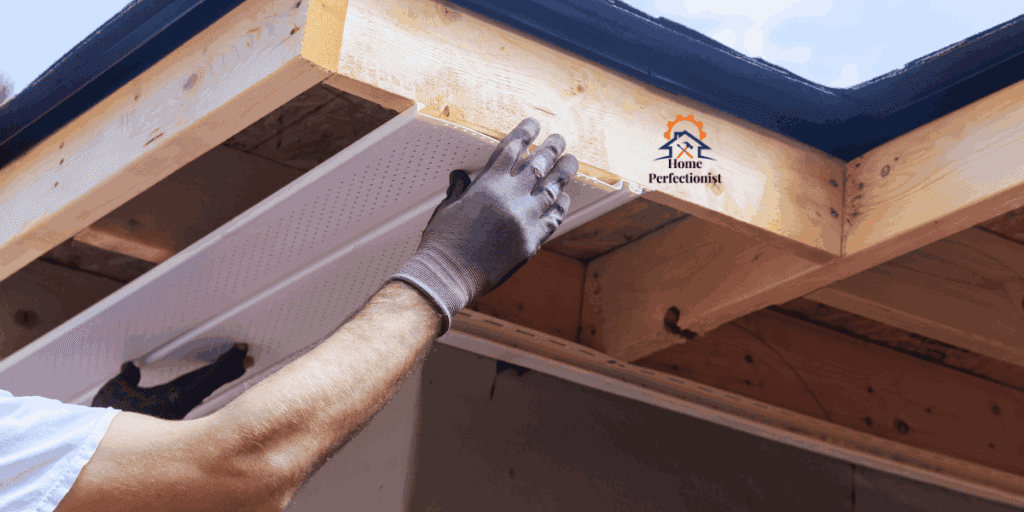
3. Install the New Fascia Board
Now that the fascia board is cut to size, it’s time to install it:
- Position the Board: Place the fascia board against the rafters, ensuring it aligns with the roofline. Use a level to make sure the board is straight.
- Secure the Board: Nail or screw the fascia board into place, ensuring the nails go into the rafters. Use at least two nails per rafter for stability.
- Check for Gaps: If gaps between the boards, seal them with exterior-grade caulk to prevent moisture from getting in.
4. Reattach the Gutter
Once the fascia board is securely in place, reattach the gutter system:
- Align the Gutter: Position the gutter brackets along the fascia board, ensuring they are correctly aligned.
- Secure the Gutter: Use screws or nails to reattach the gutter to the new fascia board. Make sure the gutter is securely fastened and aligned correctly.
5. Finish the Installation
After the fascia and gutter are in place, finish the installation:
- Seal the Joints: Apply sealant to the joints and edges to ensure a weatherproof seal.
- Paint the Fascia: If it is made of wood, apply a coat of outdoor primer followed by paint to protect it from moisture and enhance its appearance. For uPVC or other materials, this step may not be necessary.

Maintenance Tips
Once your fascia board is installed, it’s essential to maintain it to ensure it lasts:
- Inspect Annually: Conduct an annual inspection, especially after a harsh winter or rainy season, to check for any signs of damage or wear.
- Clean Gutters Regularly: Keep gutters clean to prevent water overflow, which can damage the fascia.
- Trim Overhanging Branches: Trim back any tree branches that hang over the roof to prevent damage from falling limbs or debris.
- Seal Cracks and Gaps: If you notice any cracks or gaps, seal them with caulk to prevent moisture infiltration.
Conclusion
Replacing your fascia boards is a straightforward process that can significantly enhance your home’s appearance and protect it from further damage. By following these simple steps, you can ensure your roofline remains in excellent condition for years. Remember to prioritize safety, use the right materials, and perform regular maintenance to keep your fascia looking its best.
Replace Fascia Board: (FAQs.)
1. What is a fascia board, and why is it important?
A fascia board is a long, horizontal board that runs along the roof’s edge, typically beneath the roofline. It serves several purposes: supporting the gutters, protecting the roof structure, and enhancing the overall appearance of your home’s exterior. A strong fascia board helps keep your roofline intact and prevents water damage.
2. How do I know if my fascia board needs to be replaced?
Signs that your fascia board may need replacement include visible rot, cracking, or warping. If you notice mold or mildew growth, or if the fascia has holes or animal damage, it may be time for a replacement. Additionally, fascia boards that are stained, chipped, or bowed can detract from your home’s appearance and should be replaced.
3. Can I replace just a section of the fascia board or the whole thing?
Sometimes, you can replace just a section of the fascia board if only one part is damaged. However, if the fascia board is severely rotted or structurally compromised, it’s best to replace the entire board for long-lasting results.
4. How long does it take to replace a fascia board?
Replacing a fascia board can typically be done in a few hours, depending on the area’s size and the installation’s complexity. With the right tools and materials, a DIYer can often complete the task in a single afternoon, while professional roofers may take less time with their expertise.
5. Do I need to paint my fascia board after replacing it?
If you’re using a wood fascia board, it’s a good idea to paint it after installation. Applying a coat of outdoor primer and paint helps protect the wood from moisture, extends its lifespan, and enhances its appearance. Painting may be unnecessary if you’re using other materials like vinyl or aluminum.
If you’re unsure about any part of the process, don’t hesitate to contact a professional roofer to assist with the installation or replacement.